As promised, I will get into my research for this project but today is an introduction and quick update to my actual construction of the saddle tree.
My first hurdle was that I have never built a saddle before. I have ridden most of my life and I have owned (and currently do own) horses. Through this process, I am rather familiar with equine tack, however, I have never dismantled a saddle further than changing a gullet and I have never taken the raw materials and formed something for me to use on my horse.
The second hurdle was that I have only seen photos of Mongolian Saddles – period or modern. I have no concept of fit or design of either.
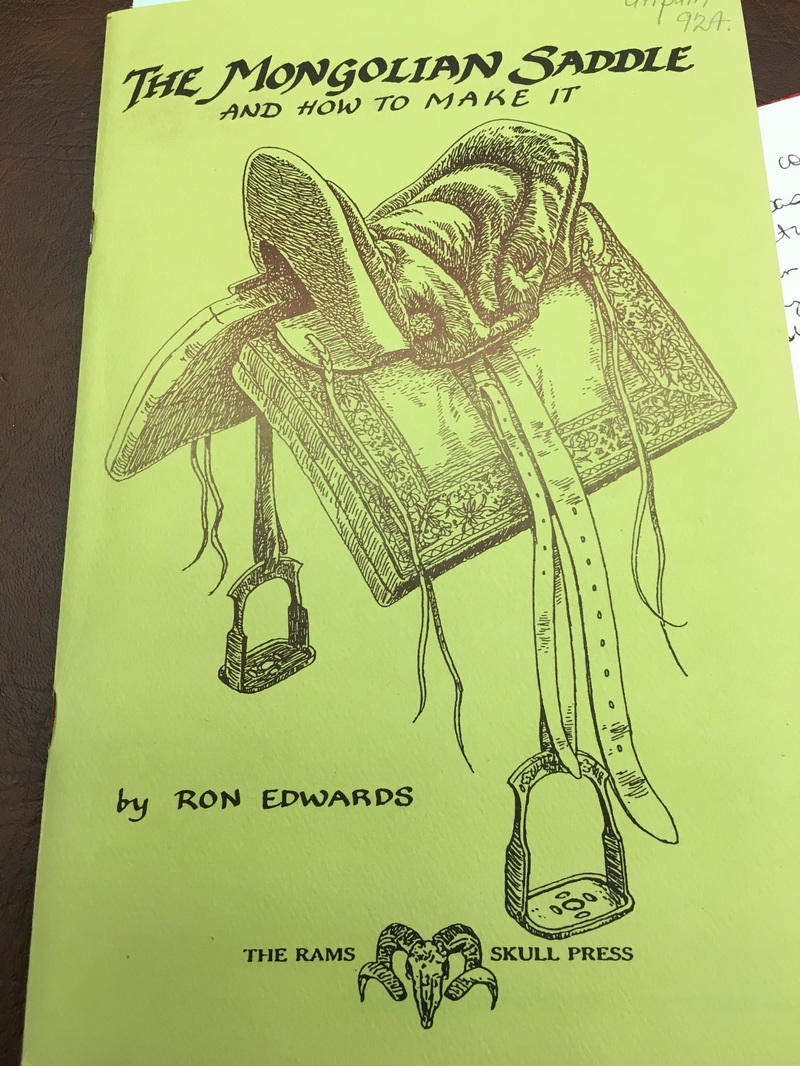
These two hurdles would have likely stopped my foolhardy attempt from gaining momentum if it had not been of an Australian bushman named Ron Edwards. Mr Edwards was a prolific writer of self-published books and booklets. He was also a saddle maker, horse breaker, poet, and artist. In 1986 after over 10 years of travel in Mongolia, Mr Edwards published a book entitled The Mongolian Saddle and how to make it.
In this booklet, Mr Edwards discusses the mounting of the modern Mongolian saddle. In this booklet, Mr Edwards voices the opinion that these saddles have a superior design and could be converted to Australian use easily because they are sensible saddles and easy to make, they require little or no leather work skills and are inexpensive. He does mention that he feels that the Australian Stock Saddle is superior but that the Mongolian Saddle will do. He also gives a detailed set of directions and patterns for building your own Mongolian saddle.
His patterns were directly mocked up off of a saddle he purchased new in Mongolia on one of his early 1980’s trips. From his drawings, the saddle seems to be proportionally and over-all designwise, similar to several of the extant saddles from the Yuan Dynasty. I will not know how similar the saddles actually are until I have made my mock-up and am able to compare its angles and lengths to the documentation on the extant saddles. Depending on the differences, I will be updating the pattern and resizing it for my horse, Anabelle, for my next iteration of the saddle.
Throughout this building process I will be using the assistance of two people. The first is my husband, Rob, who is offering support, detail checking, editorial assistance, and mathematics sanity checks. The second is my good friend, Pete. Pete is helping with the actual saddle construction. He is a far better wood worker than I and I am learning a heap from him. I would like to take this few words to say ‘thank you’ to both. This project would not be happening without their support and assistance. They totally rock!
So, what are the steps to creating a Mongolian saddle masterpiece? Here’s what I have done so far.
Step 1: Find the booklet in the local library: for me, it was simple. I went to the Australian National Library and requested the booklet. Copious notes and a few photocopies later, and I what the starting details that I needed.
My first hurdle was that I have never built a saddle before. I have ridden most of my life and I have owned (and currently do own) horses. Through this process, I am rather familiar with equine tack, however, I have never dismantled a saddle further than changing a gullet and I have never taken the raw materials and formed something for me to use on my horse.
The second hurdle was that I have only seen photos of Mongolian Saddles – period or modern. I have no concept of fit or design of either.
These two hurdles would have likely stopped my foolhardy attempt from gaining momentum if it had not been of an Australian bushman named Ron Edwards. Mr Edwards was a prolific writer of self-published books and booklets. He was also a saddle maker, horse breaker, poet, and artist. In 1986 after over 10 years of travel in Mongolia, Mr Edwards published a book entitled The Mongolian Saddle and how to make it.
In this booklet, Mr Edwards discusses the mounting of the modern Mongolian saddle. In this booklet, Mr Edwards voices the opinion that these saddles have a superior design and could be converted to Australian use easily because they are sensible saddles and easy to make, they require little or no leather work skills and are inexpensive. He does mention that he feels that the Australian Stock Saddle is superior but that the Mongolian Saddle will do. He also gives a detailed set of directions and patterns for building your own Mongolian saddle.
His patterns were directly mocked up off of a saddle he purchased new in Mongolia on one of his early 1980’s trips. From his drawings, the saddle seems to be proportionally and over-all designwise, similar to several of the extant saddles from the Yuan Dynasty. I will not know how similar the saddles actually are until I have made my mock-up and am able to compare its angles and lengths to the documentation on the extant saddles. Depending on the differences, I will be updating the pattern and resizing it for my horse, Anabelle, for my next iteration of the saddle.
Throughout this building process I will be using the assistance of two people. The first is my husband, Rob, who is offering support, detail checking, editorial assistance, and mathematics sanity checks. The second is my good friend, Pete. Pete is helping with the actual saddle construction. He is a far better wood worker than I and I am learning a heap from him. I would like to take this few words to say ‘thank you’ to both. This project would not be happening without their support and assistance. They totally rock!
So, what are the steps to creating a Mongolian saddle masterpiece? Here’s what I have done so far.
Step 1: Find the booklet in the local library: for me, it was simple. I went to the Australian National Library and requested the booklet. Copious notes and a few photocopies later, and I what the starting details that I needed.
Step 2: Enlarging the patterns: Mr Edwards outlines the process. Each square on his grid needs to be enlarged to 5cm by 5cm. You just need to draw them up on large grid paper (or enlarge them on the photocopier if you are, like me, not that talented). I then took these patterns and quickly produced a ‘sizing saddle’ – a paper saddle meant to give an indication of the saddle length on my horse’s back. When Anabelle was three she sustained a severe back injury. We are very careful of proper saddle fit and rider’s weight in an effort to keep her healthy and happy.
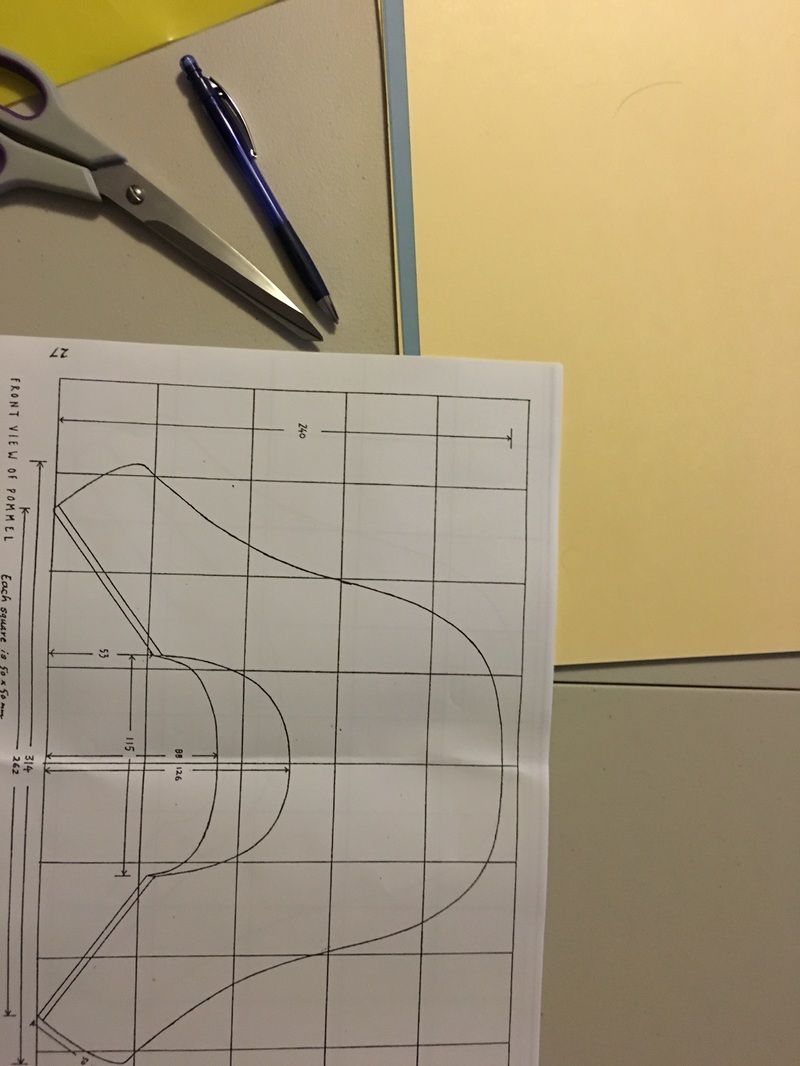
The enlarged pattern.
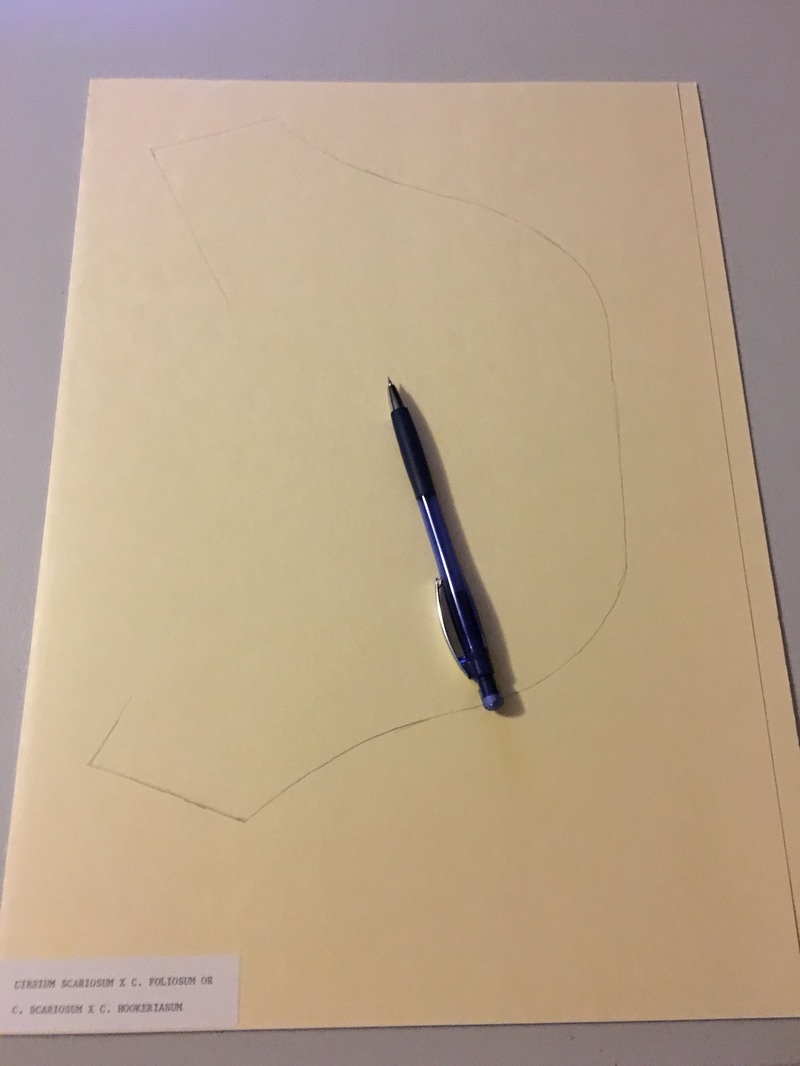
Drawing it out.
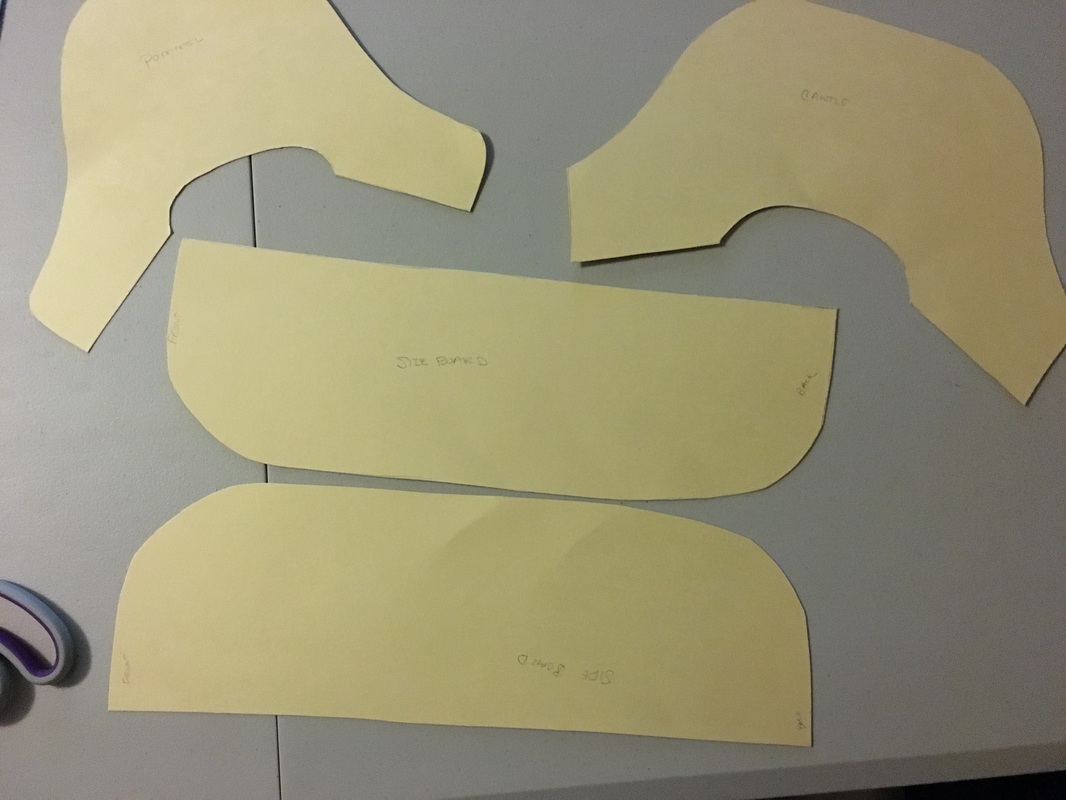
The four rough pieces.
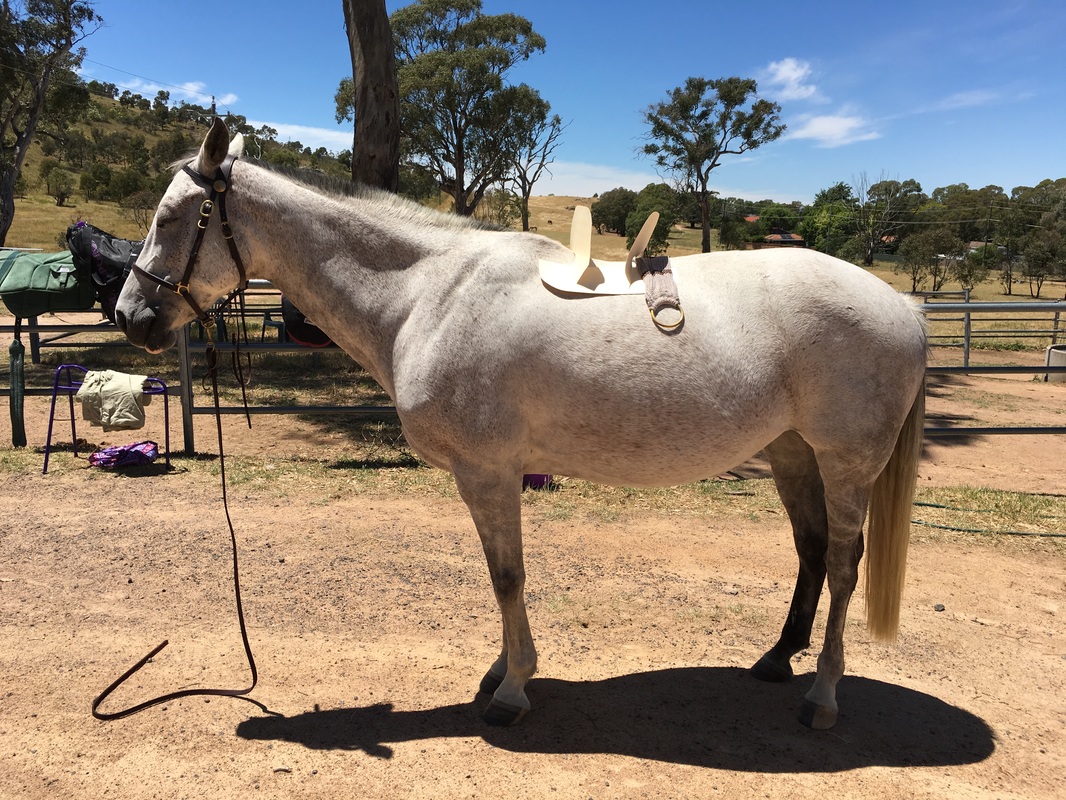
Anabelle (in paddock condition) with the smallest saddle I have ever seen on her. We will need to enlarge the saddle for her later.
Step 3: Who would have thought that getting wood would be this convoluted? Ideally for this project, I would like to use timber native to Mongolia and to that end I began researching. It seems that the extant saddles are of unknown composition at this point. Even gaining evidence as to the type of wood used (soft or hard wood) has been difficult. I finally decided on a hard, Asian native wood that was also available in Australia – Tough quarantine laws prevent certain timbers from entering the country. However, sourcing this species of tree was difficult in the size/thickness of cut I needed to use. In fact, the only species of tree we could source in my local area was not my top pick. It was very heavy and would have set me back $135. Also, this timber was too thin so would have required lamination. I opted to make my mock-up saddle out of furniture grade pine. This timber was accessible, more moderately priced, and, though still heavy, it is a soft wood and is light enough for me to lift.
For my ‘real’ saddle, I will do more research into the timber used and send to Sydney to have it milled for me.
For my ‘real’ saddle, I will do more research into the timber used and send to Sydney to have it milled for me.

The timber shop.
Step 4: The pine wood was still too thin to produce the saddle, so my next step was to take the timber to Pete for lamination. For those not in the know, lamination is the process of gluing things together. So that’s what we did. First Pete looked at the cut of the timber. For strength we laminated the wood to form arches. Next was the wood glue (we used a commercially available outdoor PVA glue). After the glue was roughly applied, I spread it to form an even layer and then we clamped the pieces together. Well, that the general idea, at least. The timber for the cantle and pommel was slightly warped on one end. Clamping was not going to produce a solid chunk of wood, so we brought in the assistance of the vice grip and several additional clamps.
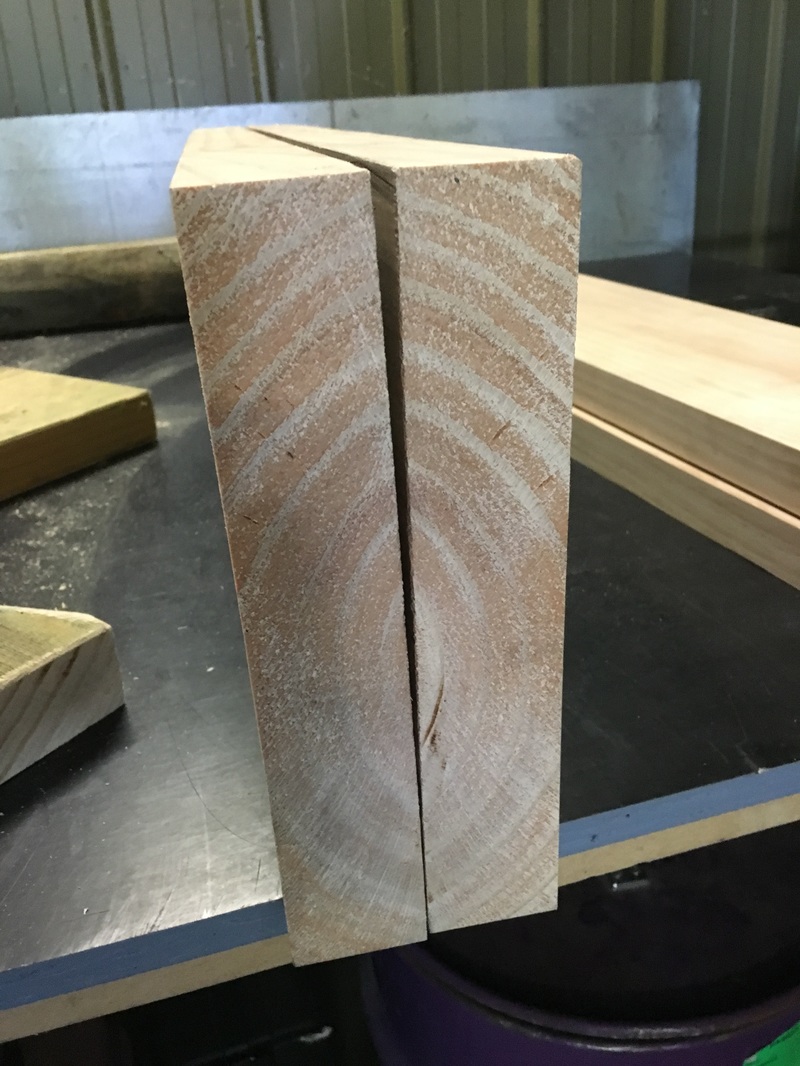
With the grain like this, the saddle tree should be stronger.
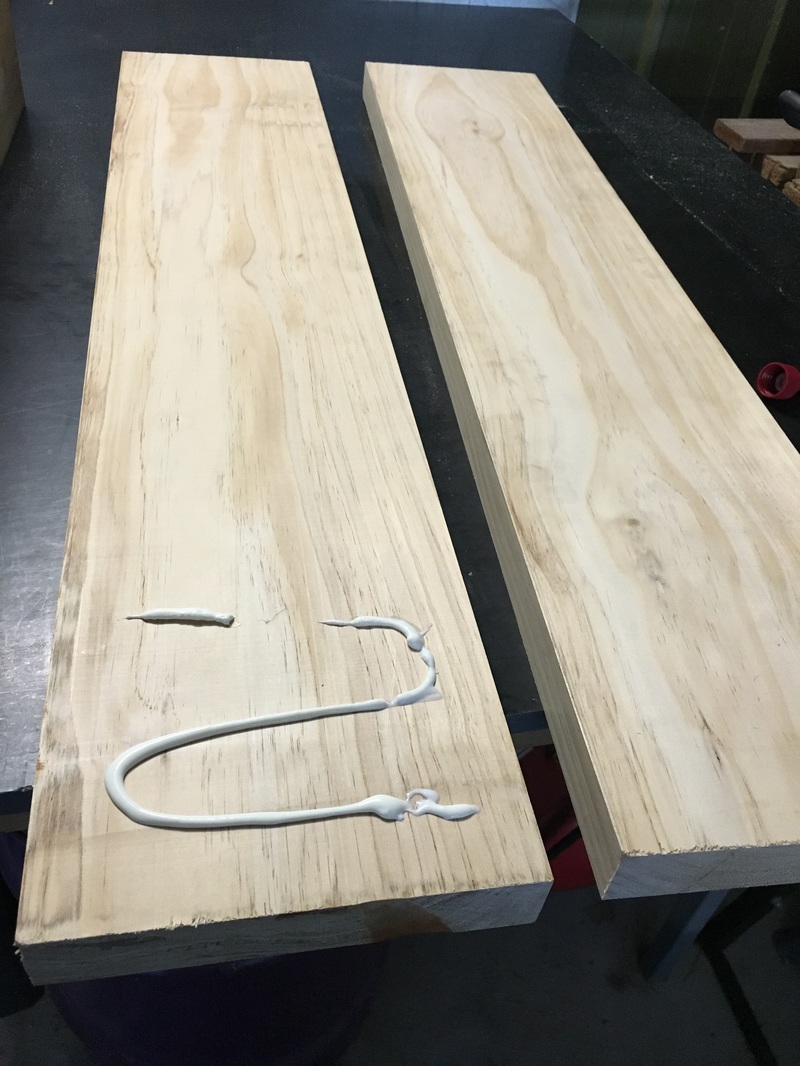
The beginning of laminating the wood.
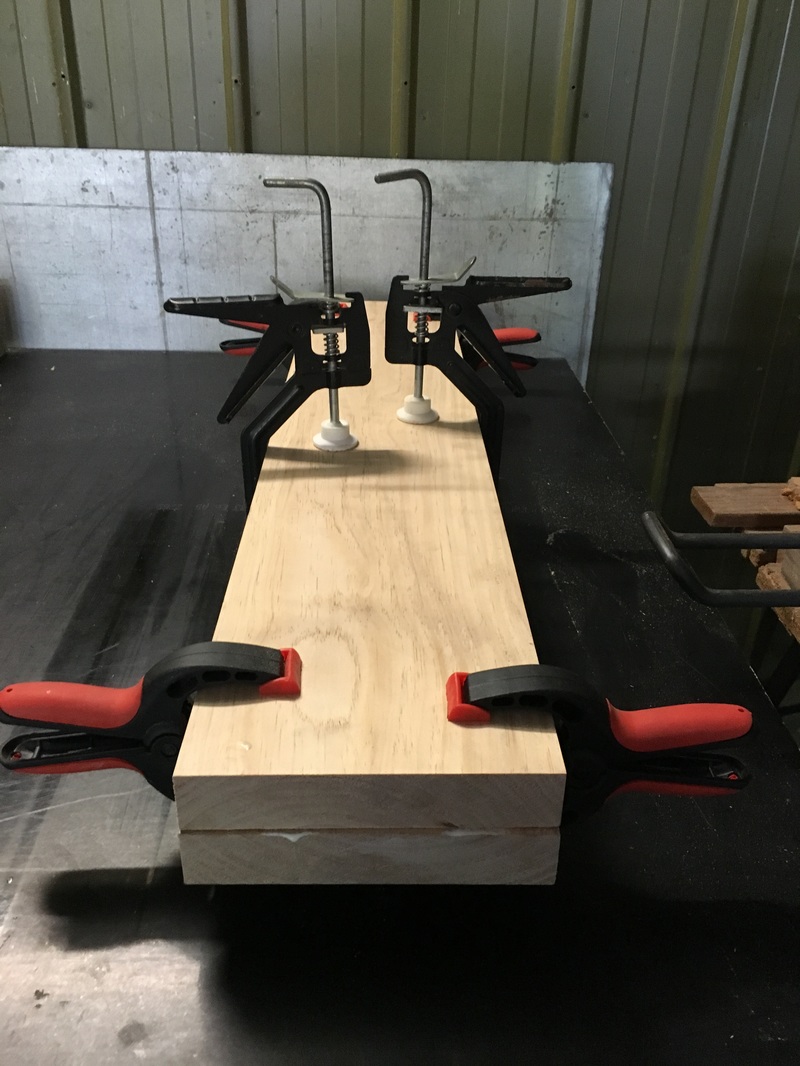
Clamping.
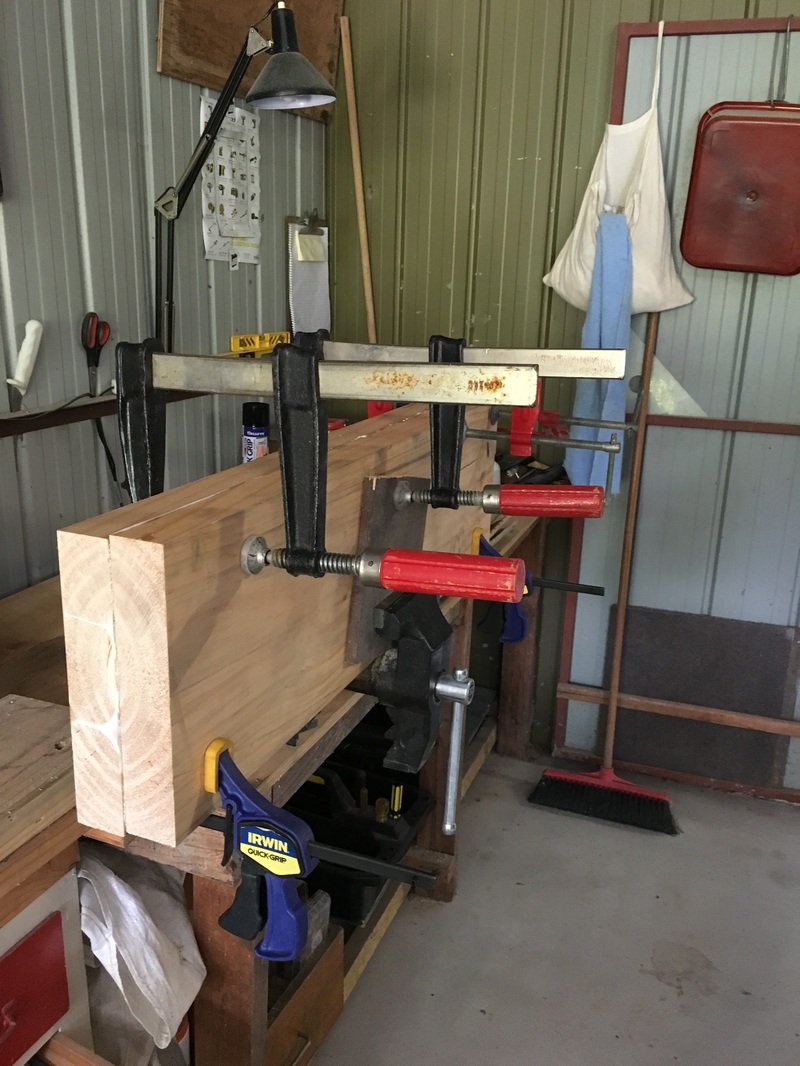
We did even this up after I took the photo and then tightened the clamps and vice grip. It took Pete, Rob, and me to active this.
Step 5 (part A): I am a firm believer in never giving up. Hurdles challenge us. We learn from this. We rely on friends…so with that as the preamble to step 5, part A, I offer the following:
This last Sunday, I ventured to the farm again to see just how well the wood was setting. It had been a week and the glue sets in minutes and dries in hours, so all should have been good to go.
We divested the timber pieces of their various clamps and both now laminated pieced looked great. I, following the directions given by Mr Edwards, cut out the pummel pattern and taped it onto the wood. Pete then outlined it and we went to cut it out. And here is the sad outcome of the day. None of the powered conveniences in the workshop would do the job. They were either too short bladed or not agile enough. ‘Well, my dear, what we need is a bandsaw.’ And this is the one piece of machinery I have not seen on the farm. Multi-fold dilemma: 1) No bandsaw 2) A bandsaw? Really? I recall this machine from year 7 woodworking. To my mind this contraption was akin to a rabid dog on fire. I watched as one of my classmates, intent on making the perfect curve for the laminated lid of his games box, sliced open his finger…exposing the bone and a lot of blood. He missed a couple of weeks of school thanks to recovery from the surgery. I remember then having to use the bandsaw to make my own project – a much more sedate napkin holder. The machine left an imprint on my mind that has not fogged with all the years in between: the whirring of the blade as it rolled through the enormous metal housing; the grinding of the gears and growling hum of the engine; as I slid my timber towards the blade, the scraping of wood against metal; the booming voice of Mr Adair, ‘Natalie, keep your fingers clear and let the blade do the work.’; and the ripping sawing of that toothed blade as it bit into the wood. As I have said, I passed because I still have 10 fingers. But I also swore never to take woodworking again because of that hell-bent machine. I am not sure that I held my panic in check because Pete reassured me that it would be fine. However, he still did not possess a bandsaw.
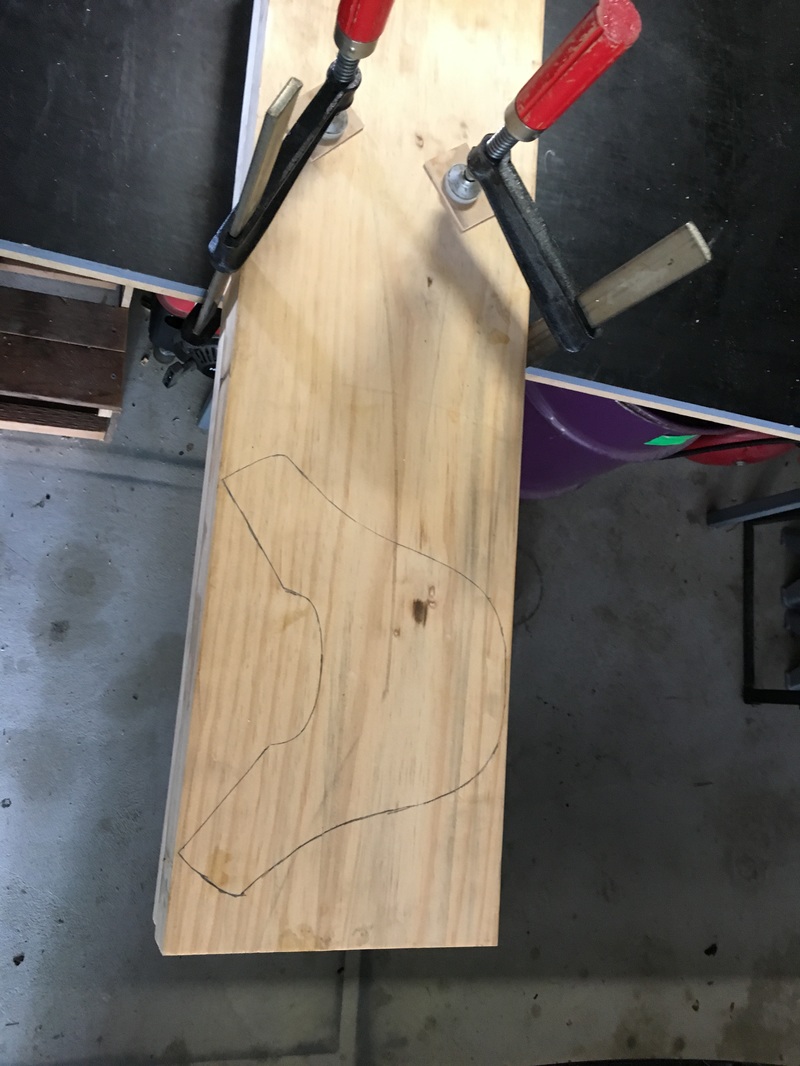
Set to cut it...but the blades are too short.
Step 5 (part B): It was the next day that I received this photo:
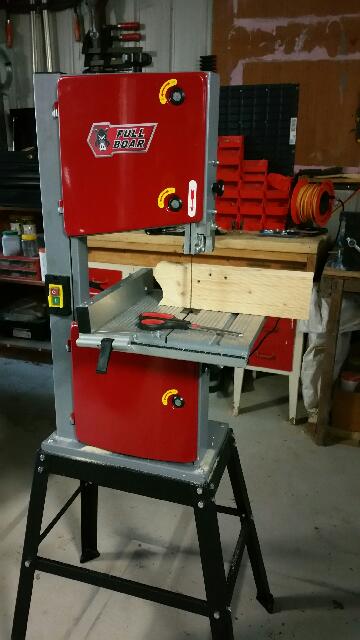
The Bandsaw...
So, it looks like progress will continue this coming weekend…
 RSS Feed
